Index
Locking and loading the Deep Silence 1 was easy. Knowing our test board, EVGA’s X58 FTW3, we made sure to mount the CPU cooler before throwing the board inside. We thought we probably won’t be able to put the cooler in later, although to be fair, EVGA X58 FTW3’s CPU socket is almost on the edge of the board. All in all, we had fun setting up the Deep Silence 1.
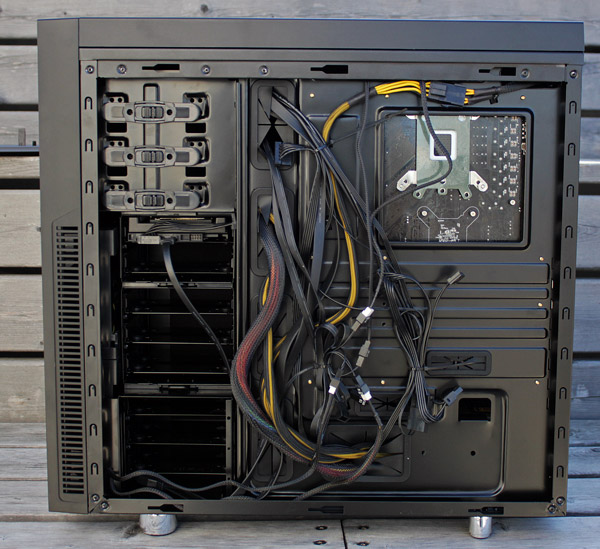
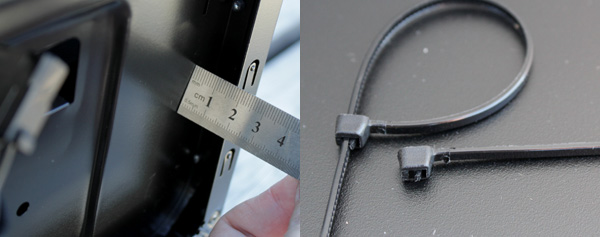
Not even a bunch of cables on the back will prevent the door from closing. It’s nice that the tie straps can be released if you pull the tiny part sticking out with your nail.
The Deep Silence 1 is quite roomy and most scenarios still leave the space you see on the right freed up.
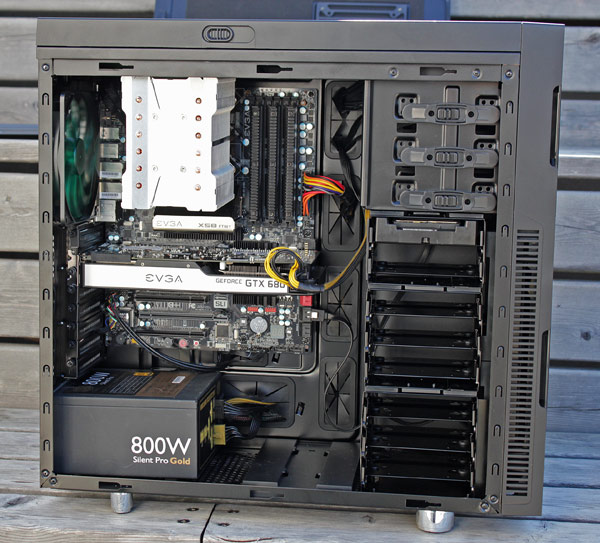
The Deep Silence 1 has eight expansion slots but our ATX motherboard, which is standard sized at 305mm, can only reach the seventh one. The 2cm between the motherboard and the PSU could’ve been utilized towards the top of the case, like with thicker water cooling radiators.
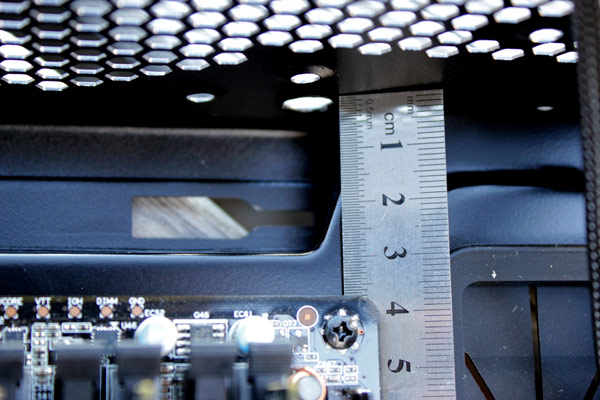
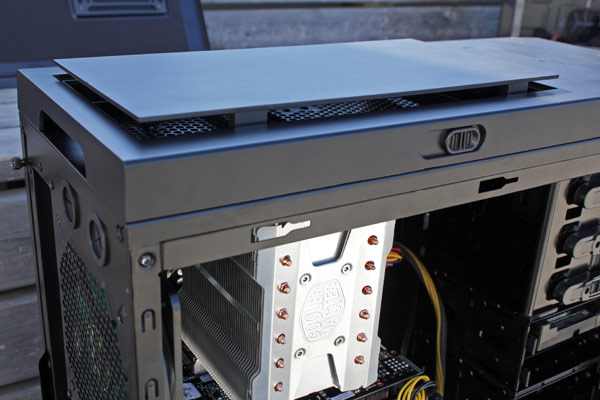
Cooler Master Hyper 612S fit nicely and we had no problems getting it in there, but it left just enough room for the top panel fan (picture below). However, as long as the cooler does not go over the edge of the motherboard, there will be room for a radiator on the top panel.
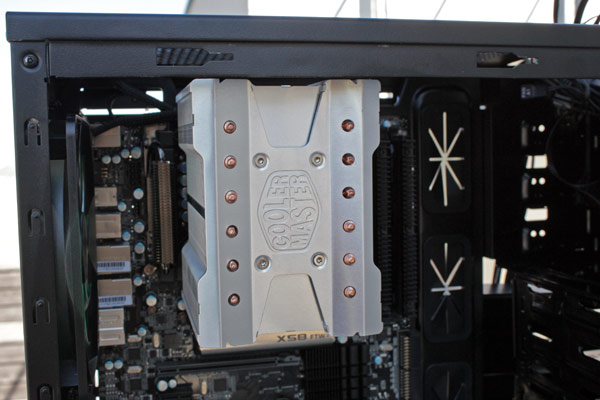
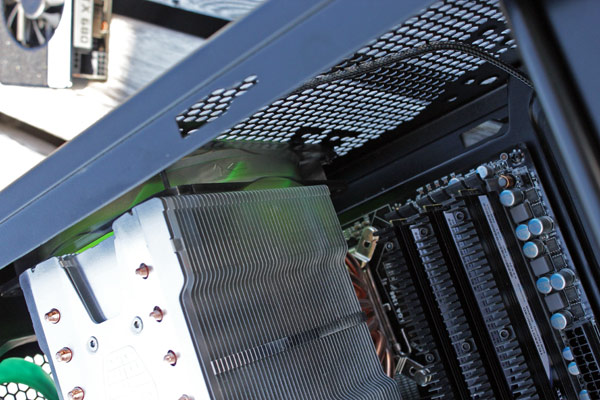
The top panel has many holes and it’s easy to get confused. You can mount a 200mm fan here as well, but we threw in a 140mm one.
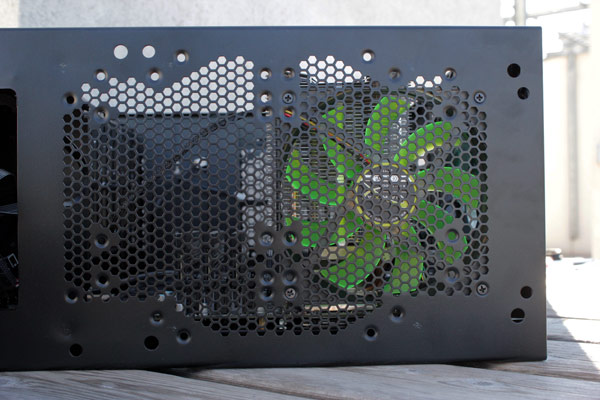
As we said before, maximum supported VGA length is 315mm (up to 445mm with the HDD cage removed) and maximum CPU cooler height is up to 185mm.
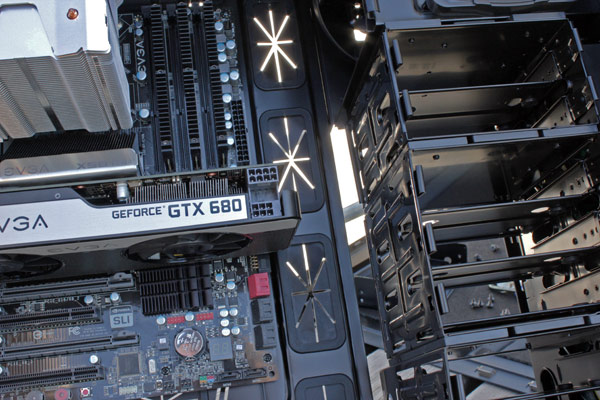
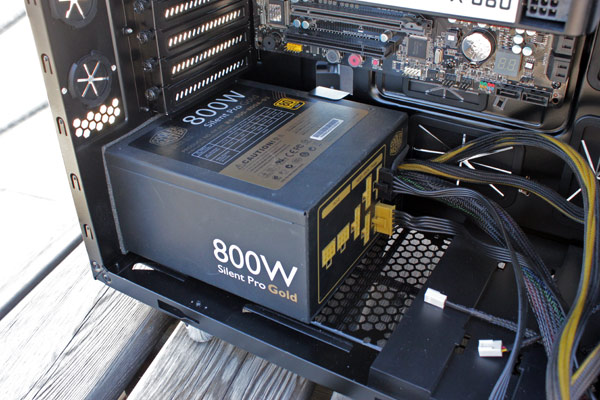
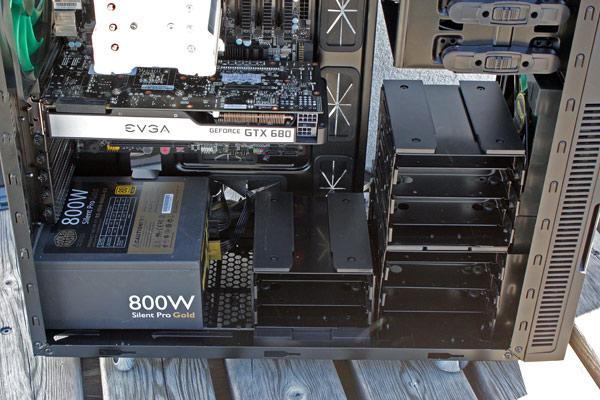
Various layouts with three HDD cages is among the Deep Silence 1’s greatest strengths. If you need a reference for the PSU, the Silent Pro 800W PSU (picture below) is 15.5cm long, and there is about 5cm left between it and the HDD cage (if you choose to put it there of course).
Note that front panel doors with sound insulation have their own set of common problems, mostly with gear that has many buttons sticking out, such as fan controllers. Thankfully, the Deep Silence comes with ha two channel controller supporting up to six fans (three per channel).
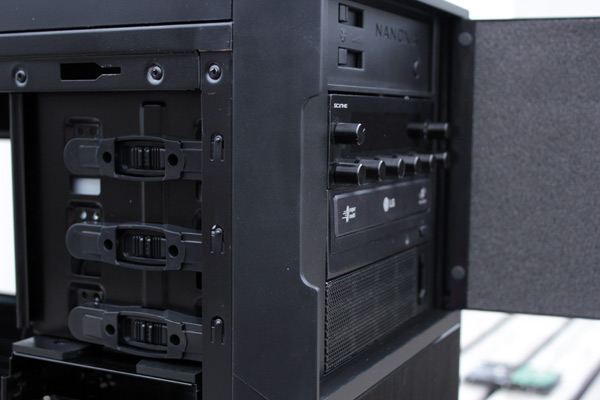
As we showed you earlier, all intakes (front, bottom, left side panel) are readily accessible and have easy to clean dust filters.
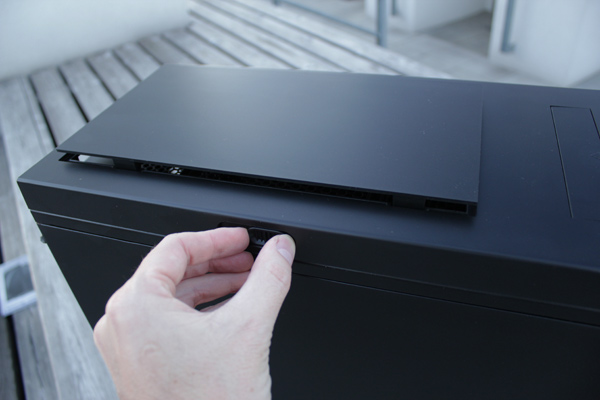
The top panel boasts the Air Chimney, which is controlled with a handle on the left side panel.
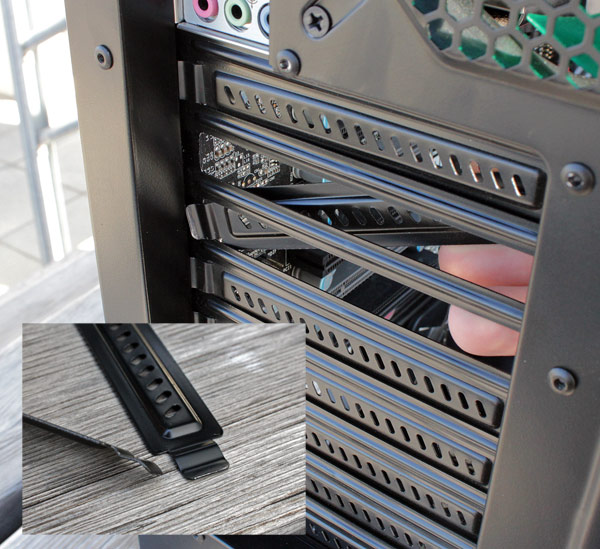
The expansion slot covers were a bit hard to take out. The problem is in the bent part that prevents smooth operation.
Once we finished everything and started up the computer, green LED lit up the power key. The fans in the case are painted green, but have no LEDs. Besides, who needs glowing fans in a closed case?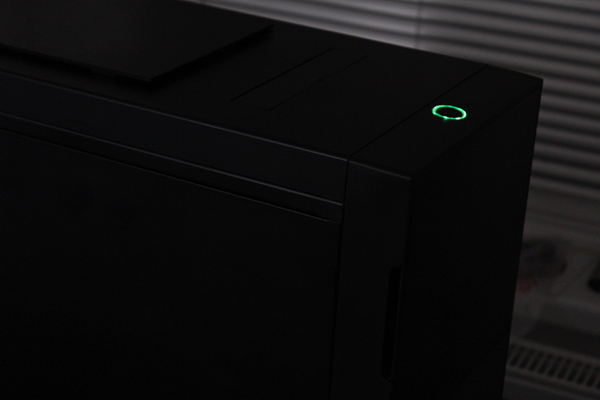
As far as performance goes, the three stocked fans do a good job, but longer gaming and more intense CPU usage will require opening the Air Chimney and venting the case out. You could also speed up the fans to the max – they won’t introduce much noise.
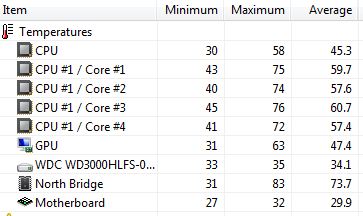
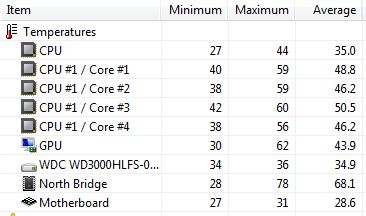
Running our GTX 680 Signature 2 with the Air Chimney opened and fans maxed out resulted in °63C. The GPU was fine but the CPU (QuadCore Intel Core i7-930, 3GHz) was dangerously aproaching the limit. Note however that the CPU cooler we used is semi passive.
Inserting one 14cm silent fan on the top panel turned to be very good investment and the image below speaks for itself. The top fan acted as a CPU cooler fan. Also if we compare the results, it is obvious that you can do away with three fans as long as your graphics card cooling is good.

